This is my version adapted from a few different recipes I found on tinternet. All you need to know is it's AMAZEBALLS!
Ingredients:
300g (approx) smoked bacon (I used back bacon)
1 small red onion finely chopped
1 teaspoon lazy garlic (or a fat clove minced)
1/2 cup maple syrup
1/2 cup white wine vinegar
3 tbsp soft dark sugar
1/2 a red chilli (or to taste)
Pinch of pepper
About 2 cups water
Method:
Snip bacon into small pieces with scissors. Fry until gently browned in batches and set aside. Add the onion and garlic to the residual bacon fat and fry gently until soft and slightly browned.Add the bacon back into the pan, along with all the other ingredients, except the water, and stir. Bring to boil, then reduce heat to lowest setting. Add the water, about half a cup at a time, approx every half an hour, for the next 2 hours. Stir occasionally to ensure not sticking in pan. The mixture should get darker and darker as time goes on. After 2 hours you should have a dark mixture and the bacon will have mostly fallen apart with the stirring, but you can pulse in a food processor or with a stick blender if you want it smoother. Decant into ramekins, cover with cling film and keep in the fridge. Slather on EVERYTHING, or just stuff it straight into your mouth from the fridge!
About Me

- CharleyNew
- Just a girl in her 30's who likes to cook, and loves her sausage dog, who is a bit of a Princess.
Monday, 5 December 2011
Thursday, 8 September 2011
Slow Cooked Beef Curry

I used 3 beef medallions that I had in the freezer, cut into thin strips and lightly floured, but use whatever beef you like
I also like to cut corners where poss, so I used
a frozen cube of, crushed ginger, crushed garlic, crushed green chilli and crushed coriander
1 red chilli, finely sliced
2 spring onions, finely sliced
3 tomatoes, roughly chopped,
1 red onion, finely diced
1 tin light coconut milk, and 1 tin of water
1 tbsp cumin
1 tbsp turmeric
1 tsp paprika
In a frying pan I started by frying off the frozen cubes, and then added the finely diced red onion


Use the same pan to lightly brown the beef, and then put that in the same casserole dish. Now add the coconut milk, and refill the tin with water and add that too. Stir, and put in a pre-heated oven at 150'C (fan) for about 4 hours. You really want at least 3 and could probably get away with 6 if you turned the oven down a bit.

After 3 1/2 hours I added the sliced red chilli and the spring onions. I served it with a pea and garlic rice, which was nom.

Waffle Cookies

You Need:
1/2 cup melted butter ( I use that flora cuisine stuff instead!)
3/4 cup light brown sugar
2 large eggs
1 tsp vanilla extract
1 cup plain flour
1/2 tsp baking powder
1/2 cup rolled oats
1 cup chocolate chips
In a large bowl add all the ingredients and stir until a sticky dough is formed. (Yes, you can ponce about creaming the butter and sugar first, then adding the eggs etc, but I didn't and mine worked!!)
Heat your waffle iron to max, and when ready use an ice cream scoop to splodge a lump of the mixture onto the iron. Press down the lid to push the mix out to the sides of the iron. Again, how long to cook them for depends on your iron, but mine took about 2 1/2 minutes. They're ready when they are golden brown and crispy round the edges. Cool on a wire rack and then divide into individual cookies. Keep in an airtight box for 2 days (if they last that long!)
Experiment with flavours, I used milk chocolate and peanut butter chips, which were amazeballs, and am gonna try some pecan and cinnamon ones next!
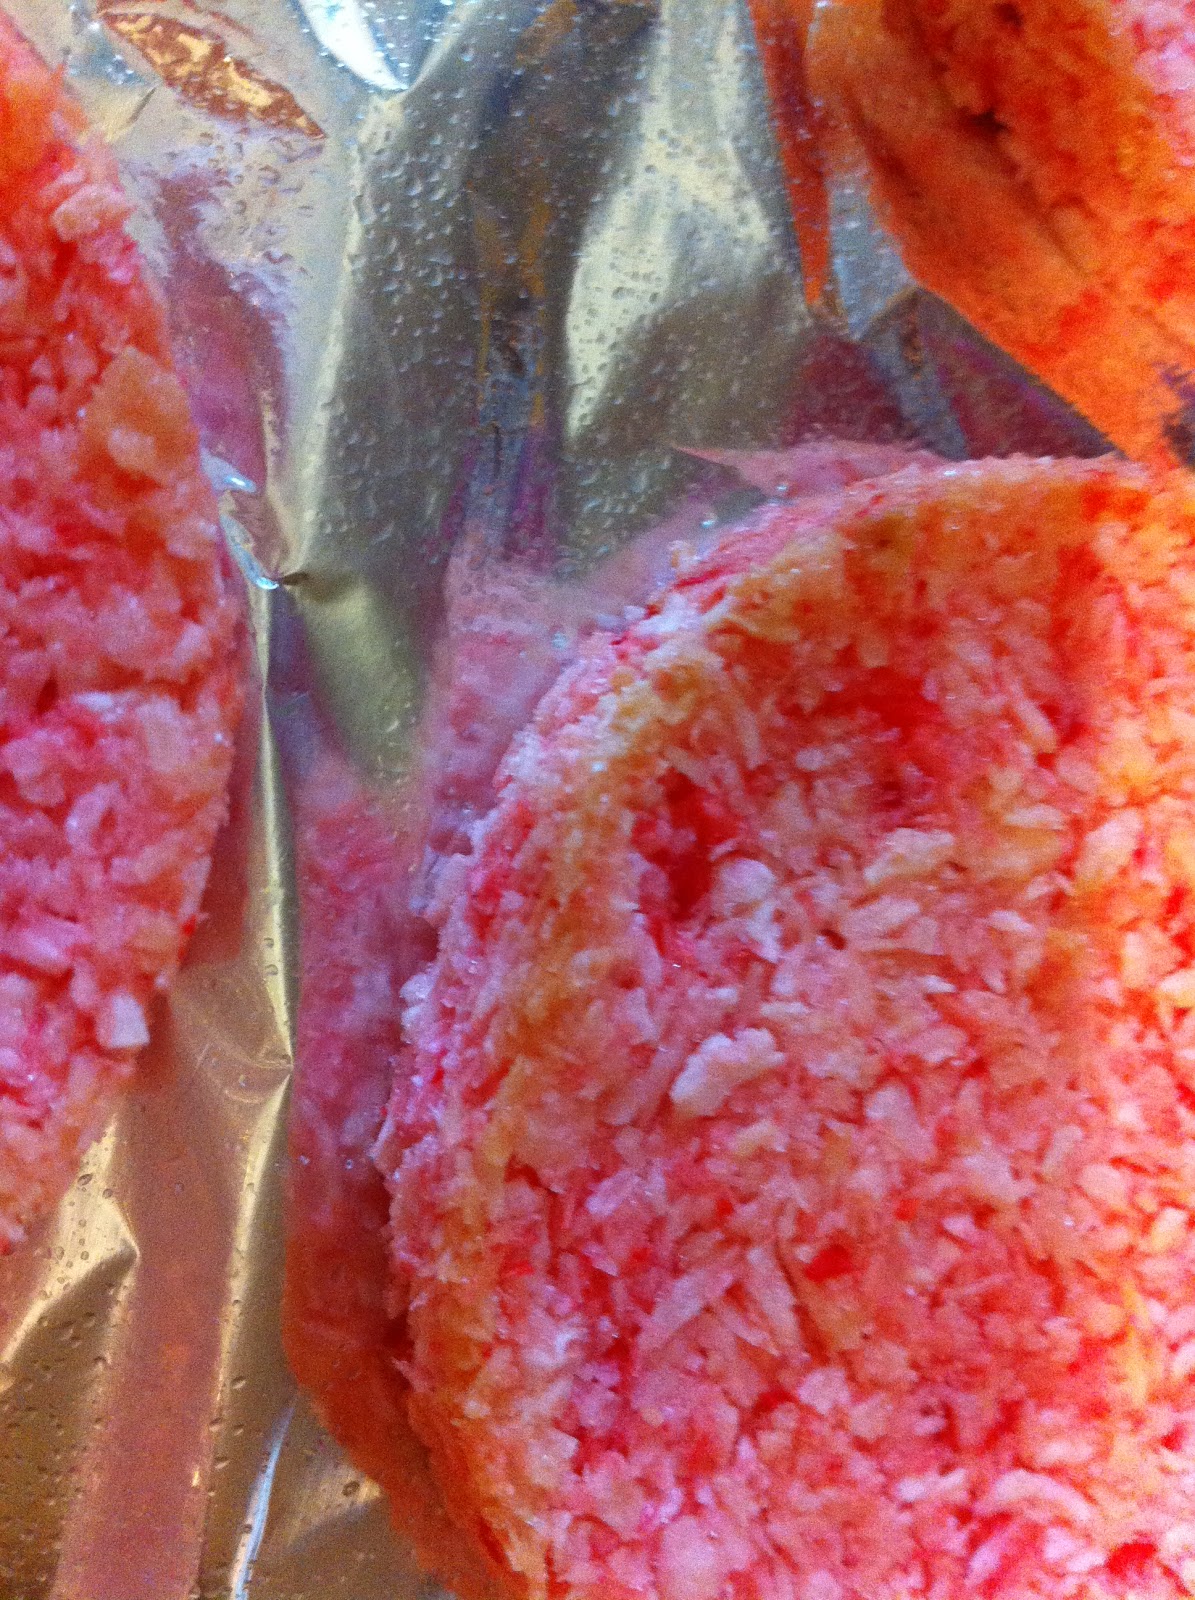
Coconut Macaroons

2 cups dessicated coconut
1/2 cup caster sugar
2 egg whites
few drops food colour ( I went for pink, obv)
add all the ingredients to a bowl and mix until combined. It's as easy as that!

Honey & Lemon Chicken (Super Easy!)

Serves 2:
2 Chicken breasts (skinless)
1 tbsp lemon zest (1 small lemon)
6 sprigs of lemon thyme, or about 1 tsp dried
1 tbsp olive oil
1 tbsp runny honey

Place chicken in a shallow oven dish. Mix together the oil, zest and thyme with the honey and drizzle over the chicken. Chuck the lemon you zested in with the chicken too, it will give off loads of juice!
Roast for 20-25 mins at 180'C (fan), basting half way through. Serve with a mixed salad and salad dressing of your choice. Spoon over residual juices from pan.

Sunday, 17 July 2011
Peach Melba Slice

The Recipe:
1 tin peaches
3 tbsp raspberry jam
1 1/2 cups plain flour
1/2 cup caster sugar
10 tbsp 'Flora Cuisine' (or melted butter/marge)
4 tbsp creme fraiche or sour cream
Make it:
Slice the peaches, pat with kitchen towel to remove excess moisture and stir in the creme fraiche to coat. Meanwhile mix the flour sugar and flora/butter until it resembles claggy sand:

When baked allow to cool for about 10 mins, then spread with the jam. Tumble the peach mixture on top, level it out a bit and whack it back in the oven for about 25 mins. The creme fraiche will look a bit like a soft set custard when you get it out. Allow to cool for a bit before removing from the dish and slicing up. Eat warm or cold.

Lemony Coconut Biscuit Bars - no bake!

The Recipe:
200g of crushed up digestive biscuits (could also use Rich Tea biscuits)
130g melted butter
1/2 can condensed milk (i used 'light')
zest of 2 lemons
1 cup dessicated coconut
Make 'em:
Mix the melted butter and condensed milk, then add all other ingredients and mix until thoroughly combined. line a square dish with some cling film and press the mixture in firmly. Allow to set in the fridge for about 2 hours, then cut into slices/bars of your choice. WARNING: These are bloody moreish when lazing around on a Sunday afternoon watching telly!!
Thursday, 2 June 2011
Love my food, but hate to see waste!
A tweet on my timeline this week has really made me think. It was about some food that was past its use by date, and whether it would be ok to use or not. In this particular case, it happened to have been off after checking, but it got me thinking, people throw so much food away because it's 'out of date', when really it's fine to eat, in some way or another, eg some fruits and veggies that aren't at their freshest can be made into smoothies, relishes, chutneys, jams etc... This then led me on to look for some tips online as to how to keep food to make it last longer, and thought I'd share some of my faves,plus some things I already do myself.
When I buy fruit/veg, I always take it out of the plastic packets before keeping it in the fridge, so I am relying on sight, touch, smell etc rather than dates anyway-best before and use-by dates haven't always been stamped on food you know!
Tips:
*Remove mushrooms from the plastic and cling wrapped boxes they come in and store in paper bag or wrapped in kitchen paper. This way they do not 'sweat' and last much longer.
*Store your celery in a jug of water in the fridge, replace water every couple of days.
*Keep your nuts in the freezer (ooh-er Missus!) Things that contain oil can spoil, but freezing nuts keeps their freshness for yonks.
*Freeze small amounts of leftover cream, creme fraiche etc in an ice cube tray, and add them to sauces, mashed potatoes etc as needed.
*Remove packaged herbs from their plastic and put in a bowl of cold water for 10 mins. Then store in fridge wrapped in damp kitchen paper in a tupperware tub.
*If you are only going to use half a pepper, leave the stalk and seeds attached to the half you aren't using and store in a plastic bag in the fridge.This will give it a couple of extra days.
*Turn the unused ends of a loaf of bread into crumbs in a food processor and store in a zip-loc bag in the freezer. Add to the bag each time you have some more crumbs, and use straight from frozen.
*If you have a veg drawer in your fridge line it with kitchen paper, and change often. It will soak up any moisture and prevent it from spoiling your veg!
*Pesto spoils quickly in it's jar once opened. Either, freeze in ice cube tray and use from frozen, or, wipe round the top of the jar to clean, and then put a couple of tspsns of olive oil on top of the pesto, and store in the fridge, no more bad wasted pesto!
*Grate your whole wedge of parmesan cheese when you buy it, and store in a tub in the freezer, rather than leaving it to dry out in your fridge.
These are just a few, as I have run out of time and must dash off to meet a friend, but I'll share more as I discover them!
Thursday, 26 May 2011
Homemade Face Masks
Don't get me wrong, I love my lotions and potions, and have shelves screaming under the pressure of all the products I spend all my hard earned cash on. BUT, sometimes, I like to use something a bit more natural, and these are all very easy on the purse too!
Honey and Milk face mask:
Mix 1 tbsp full fat milk with 1 tbsp honey. apply to face and neck, wipe off with a warm damp flannel after 10 mins. Great for dry skin.
Lemon and sugar face scrub:
Mix 1 tbsp granulated or caster sugar with 2 tbsp lemon juice. Apply to face in gentle, circular motions with a cotton wool ball, and rinse with water. Good for removing dry skin patches!
Honey and Aspirin Mask:
Dissolve 2 dissolvable aspirin in 1tsp water. Once dissolved mix with 1tsp honey. Apply to face for 5-10 mins, and rinse off with a flannel. Will be slightly grainy and therefore exfoliate gently, but also the acid in the aspirin is great for breakouts and clearing acne, and the honey soothes and moisturises.
Obviously I have used these all on MY SKIN, and they are all fine FOR ME. If you are irritated at all by any of these then rinse off and do not use again!! Try a small test area first!
Easy Herb Pots
Recently I've been on a bit of a mission, to re-cycle/re-use, and my latest effort is these cute little herb pots made from lidded pots that have had some kind of foodstuff in (which I've of course devoured first).
This particular one was for cream, but also yoghurt, sorbet etc come in similar pots with see-through lids.
You can spend quite a lot in Garden Centres on those mini propogator things, and these do the same thing!


This particular one was for cream, but also yoghurt, sorbet etc come in similar pots with see-through lids.
You can spend quite a lot in Garden Centres on those mini propogator things, and these do the same thing!

First, just wash out the pot and lid, and dry. Fill about 3/4 with compost, sprinkle on desired seed, and cover with more compost. water and put lid on.

Write the name of whatever you have planted on the lid with marker, and put in a sunny place, to let nature do it's magic!
As a complete glutton, I hugely advocate growing things you can eat!!
Wednesday, 20 April 2011
Parma-Hammy Breadstick Munchies
These are a tasty little treatfest, GREAT with a nice lil cold drinky to hand, can be served as a starter, a canape type thing or as part of a little tapas spread (I'm v fond of a tapas spread!)
And the best thing is they are totes simple to make, but look really impressive! Ta-daa!
The 'Recipe':
Breadsticks (whichever variety you like,fancypants or plain)
Parma ham
blue cheese-spread, or Boursin, or plain old Philly
Make 'em:
Lay out a slice of ham, and spread thinly with desired creamy cheese. Place one breadstick onto one end of the ham, and then roll up. Repeat this with all the breadsticks and ham.
Lay them out on a lightly greased baking sheet and bake in the oven at 180' for 10-15 mins.
Remove from oven and serve immediately if you want them warm, or serve them at room temp if you prefer. Enjoy!
Oh, and if you do wanna look a bit fancypants about it, serve them on a platter lightly drizzled with a bit of bazamic glaze!

Donuts, for dunking
I discovered a recipe recently for donuts that are baked in the oven, rather than fried, and I'll admit I did a merry little dance of joy. I was slightly doubtful at first as normally these things that promise to be a low cal version of something yummy are normally a complete let down, but I have to say they are scrum, and have had great nods of approval from all who've tried them so far!
 The original recipe I got from a vegan blog I follow on twitter @ohsheglows, www.ohsheglows.com but I'm not vegan so I substituted a few of her ingredients,as She suggests, to come up with a very easy batter mix which makes a divine little munch.
You do need a doughnut pan to make these, but I picked up my 6 mini donut silicon pan for about £4 a few years ago so they are not pricey! Finally, I had found a use for this mould!!
ok, the recipe is:
1 cup plain flour
1/2 cup caster sugar
1 1/2 tsp baking powder
1/4 tsp salt
1/2 tsp cinnamon
1/2 cup milk
1 medium egg
1/2 tsp vinegar
1/2 tsp vanilla extract
3 tbsp Flora Cuisine (or 3 tablespoons melted butter/marge)
Mix all ingredients together in a bowl to make a batter, and rest for 5 minutes. Grease your donut tray (I use a light oil mister for this) and spoon batter into each ring until level with the little mound in the middle (see pic above).
 Bake for approx 12 mins in an oven at 160'c until springy to touch but not browning, and tip out onto a cooling rack (carefully) to cool.Then you can ice and add sprinkles of your choice:


You do need a doughnut pan to make these, but I picked up my 6 mini donut silicon pan for about £4 a few years ago so they are not pricey! Finally, I had found a use for this mould!!
ok, the recipe is:
1 cup plain flour
1/2 cup caster sugar
1 1/2 tsp baking powder
1/4 tsp salt
1/2 tsp cinnamon
1/2 cup milk
1 medium egg
1/2 tsp vinegar
1/2 tsp vanilla extract
3 tbsp Flora Cuisine (or 3 tablespoons melted butter/marge)
Mix all ingredients together in a bowl to make a batter, and rest for 5 minutes. Grease your donut tray (I use a light oil mister for this) and spoon batter into each ring until level with the little mound in the middle (see pic above).


I have also made chocolate ones by adding 2 tbsp cocoa powder, and omitting the cinnamon, and then I iced them with Nutella and sprinkles! Also yum scrum!
Thursday, 14 April 2011
Oh hello....
Hello there.....
I've finally got round to doing this thing. Not sure what it'll actually be, or how much I'll do with it but we'll see....
I am no writer, but I do enjoy a good yarn, and can always talk about food, which is what I'll mostly do. I also like shoes, and glitter. These things will probs get some attention too.
So, about me - I'm Charley (nice to meet you and all that!), I'm 30, engaged, and live in a 2 bed semi with the Man , the Dog (miniature sausage), and a festival of fish. I work full time, but in an ideal world I'd be a lady what lunches, and go about my daily chores of baking and darning whilst wearing a frilly pinny, between having manicures and cocktails. And that's that!
Subscribe to:
Comments (Atom)